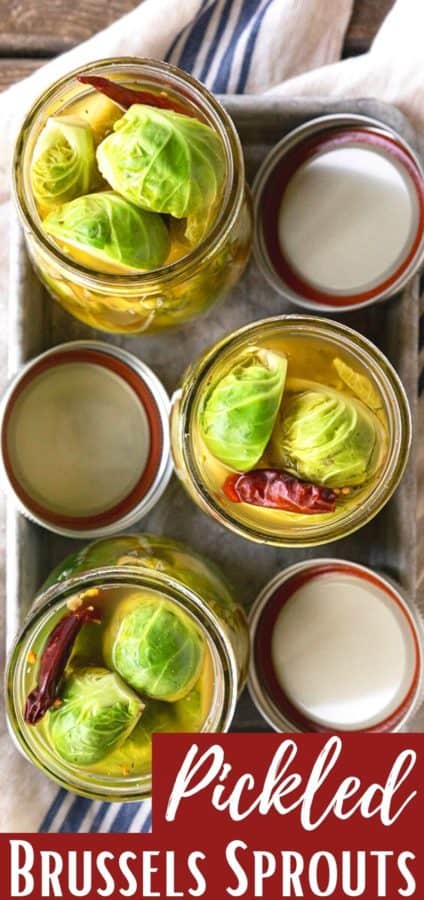
Pickled Brussels Sprouts are garlicky, tangy, crisp-tender, little earthy green pickled orbs that are delicious as a snack, as part of charcuterie board, or in a Bloody Mary. They may sound odd, but any doubts disappear as soon as you try one!
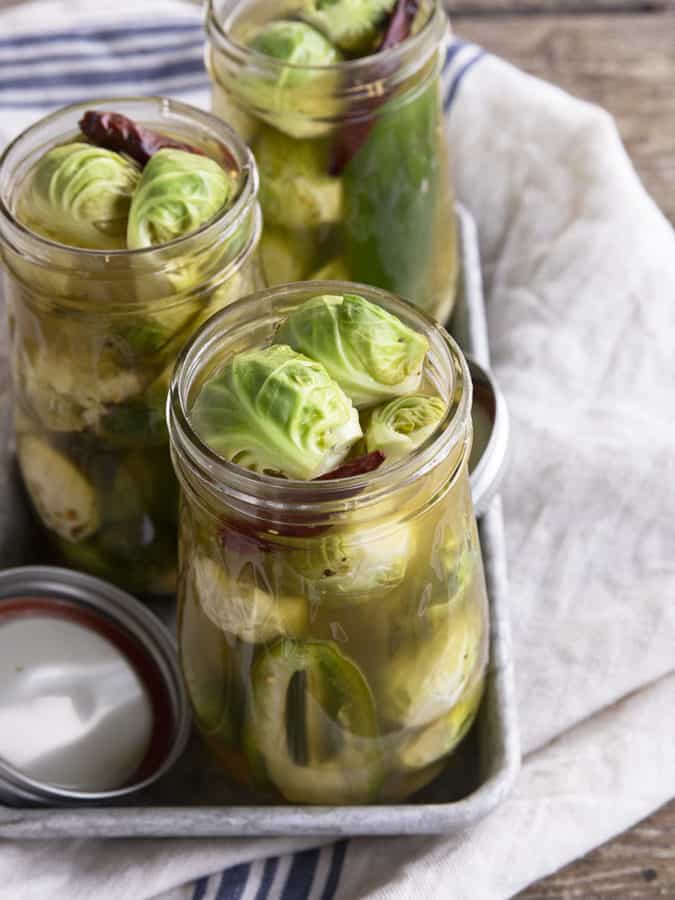
A month or so ago, a reader named Dianne left a comment on our Candied Jalapenos post talking about how she used excess candied jalapeño syrup to make sweet and spicy pickled Brussels sprouts. Now, I’m working on a version of that, but in the meantime, I got 8 pounds of Brussels sprouts in my Misfits Market box.
I made garlicky, tangy, slightly spicy Pickled Brussels Sprouts because I have a deep, abiding love for pickles that make you pucker. And folks, they’re so good, I had to share the recipe.
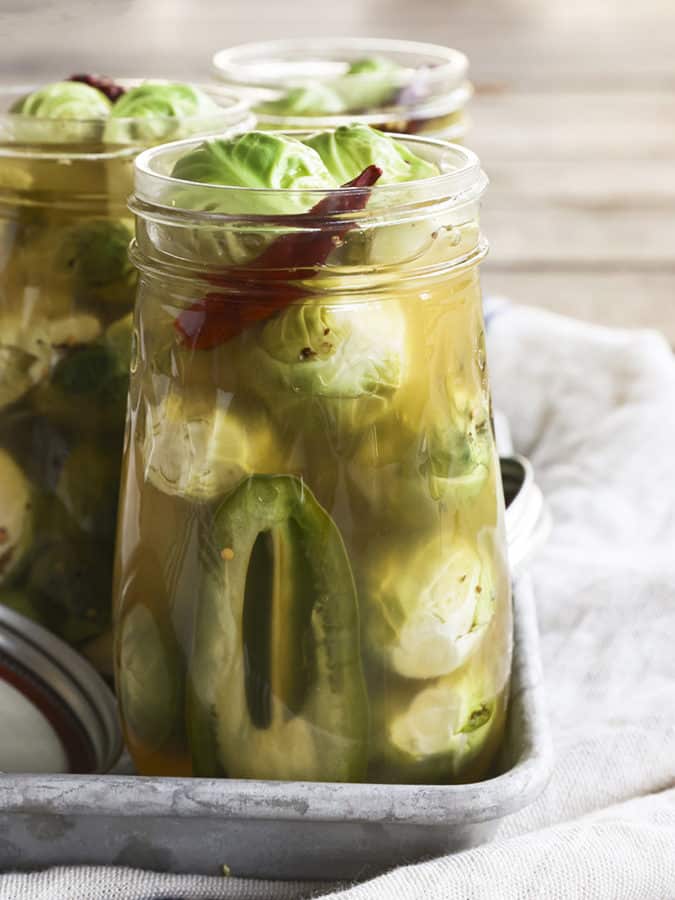
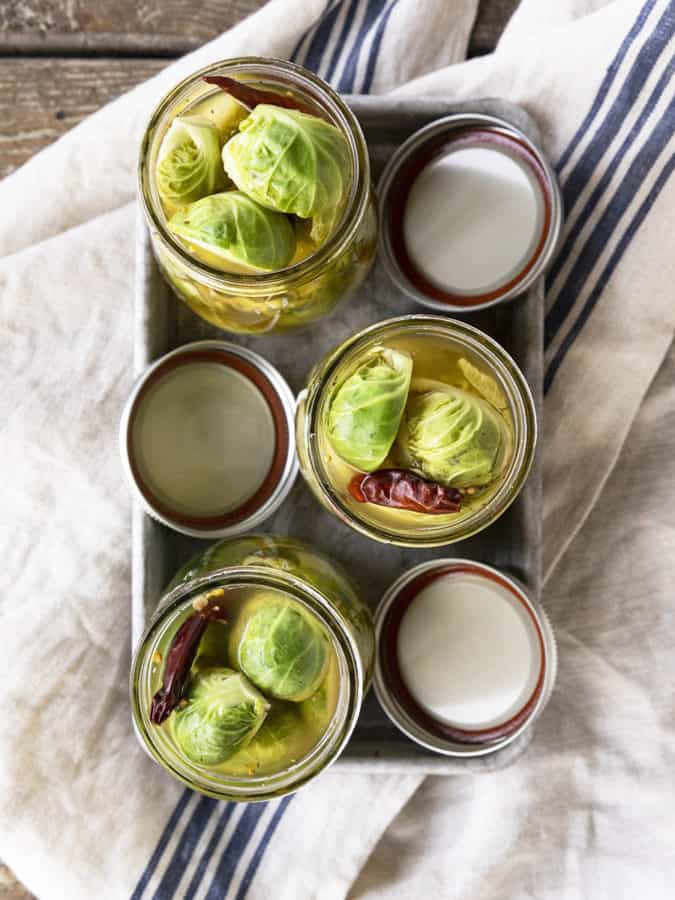
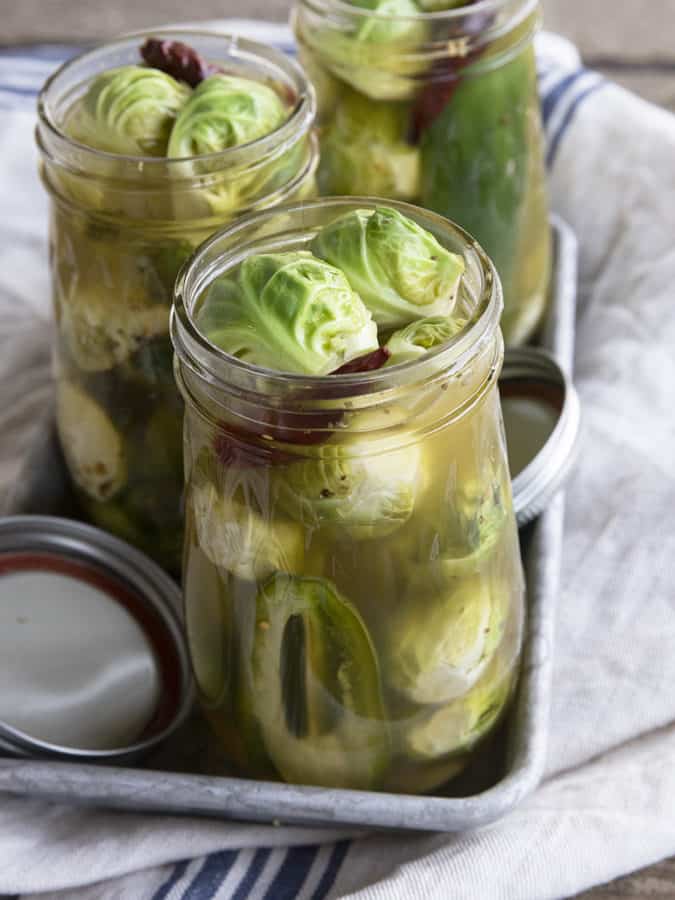
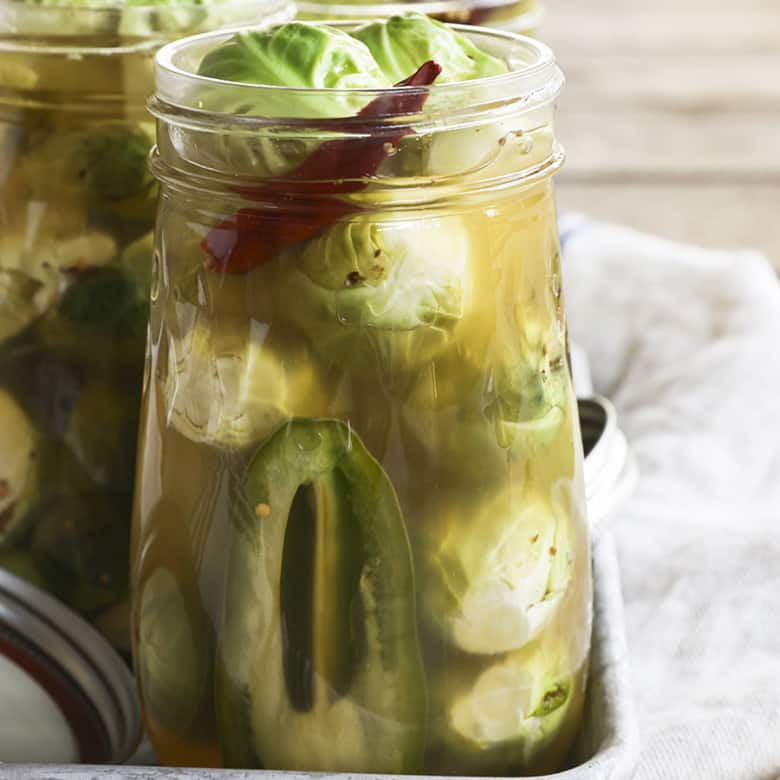
These might not be the prettiest pickle on the block; pickled Brussels sprouts take on a muted green colour when they’re cooked. But the texture and flavour keeps you coming back for more and, well, my sister disagrees with me. The first thing she said when she saw the jars was “They’re so PRETTY!”
How to Pickle Vegetables
It’s obvious we’re big pickle fanatics here at Foodie with Family. We have tutorials for Pickled Green Beans: Dilly Beans, Pickled Green Cherry Tomatoes, Quick Pickled Red Onions, Russian Pickled Cherries, Pickled Ginger (Gari), Home Canned Garlic Dill Pickle Recipe, Refrigerator Pickled Salad (Bread and Butter Style), and Sweet and Spicy Asian Style Pickled Carrots, just to name a few.
Keep in mind that a pickling method that works for one vegetable does not necessarily work for another vegetable. Pickled Brussels sprouts are, thankfully, among the easiest vegetables to pickle.
One thing that applies to all vegetables you’re contemplating pickling, though, is that the fresher the vegetable, the better your pickles will be. If you have some banged up produce, you’ll end up with softer pickles, and to the best of my knowledge, nobody has ever said “Mmmmm. I sure love soft pickles.”
On a similar note, please trim off any dry areas on the stems of your Brussels sprouts. You should dispose of those and any loose leaves that fall away from the sprouts.
When it comes to vinegar, you have a couple of choices. I prefer Apple Cider Vinegar for its mild taste. If you like your pickles a little sharper in tang, you can opt for white distilled vinegar.
The apple cider vinegar yields a more muted green pickle while the white distilled vinegar makes a brighter pickle. The choice is yours and either is delicious!
I include 2 kinds of peppers in these pickled Brussels sprouts because I like what they both bring to the party. The finished pickled sprouts are not really spicy, but have a great depth of flavour.
They’re mild enough that my 11 year old niece -who is notoriously opposed to spicy foods- loved them. If you’re extra sensitive to spice, though, you can omit either the fresh jalapeños or the dried Sichuan Chinese peppers.
If, on the other hand, you’d like to make them a little spicier, you can substitute a dried arbol chile pepper for the Sichuan pepper in each jar.
Can I Pickle Frozen Vegetables?
In short, no. But I have science in my corner; please let me explain.
Pickled Brussels sprouts, like most pickled vegetables, are best made when they’re in season. With very few exceptions, starting a pickling project with frozen vegetables is a very bad idea. The result will be, once again, soft pickles.
The damage is done before you get started. When you freeze vegetables, the water in the vegetables expands and breaks down cell walls. That vegetable will never be as crisp as it was when it was raw.
This is fine and dandy when you’re cooking vegetables for dinner. It’s not so great when you’re pouring boiling brine over the vegetables, then boiling the jar they’re in for 15 minutes. The result would be thrice-cooked vegetables. Blech.
For this and all future pickles -be they pickled Brussels sprouts or pickled peppers, please use fresh vegetables.
Can I Can Pickled Brussels Sprouts?
You betcha!! In fact, this recipe is designed to be canned for longer shelf-storage.
If you’re terrified of canning things, I have a little workaround for you. You can stop the process when you’ve loaded the jars and poured boiling brine over the Brussels sprouts.
Wipe the jars, fix lids in place, and let the pickled Brussels sprouts cool to room temperature before storing in the refrigerator. Then get yourself to a bookstore and buy a copy of my canning cookbook “Not Your Mama’s Canning Book: Modern Canned Goods and What to Make with Them.” I’ll help you over your fear of canning. It’s not so bad. I promise.
Pickled Brussels Sprouts
Prepare up to 10 pint jars by washing them in the dishwasher.
Place 4 cloves garlic, half a jalapeno pepper, a dried chile pepper, dried dill seed, celery seed, and coriander seed in each pint jar. Set the jars aside.
Wash and trim the Brussels sprouts. Remove any loose leaves. If the sprouts are large, cut them in half from from pole to pole. Pack the raw, prepared sprouts into the jars. Do not pack too tightly.
Bring the apple cider vinegar, water, and salt to a boil. Ladle over the Brussels sprouts in the jars, leaving ¼-inch of headspace between the brine and sprouts and the top of the jar.
Wipe the rims with a paper towel moistened with vinegar then fix new, two piece lids to finger tip tightness on the jars.
Place in a canner filled with boiling water to cover the jars by 2 inches. Add the lid to the canner.
When the water returns to a full, rolling boil, set your timer for 10 minutes. Turn the burner off after 10 minutes and remove the lid of the canner.
Let the jars stand in the water for 5 minutes before carefully transferring to a cooling rack or a towel lined counter. Leave the jars to rest, undisturbed, for 24 hours before removing the rings, wiping clean, labeling, and storing on shelves.
Let the pickled Brussels sprouts rest for 2 weeks before opening. Once opened, a jar should last about 2 weeks in the refrigerator.
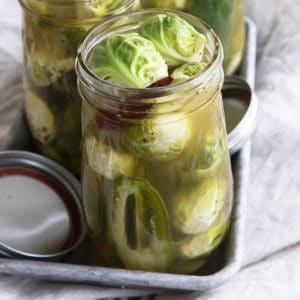
Pickled Brussels Sprouts
Rate RecipeEquipment
- 8 to 10 pint jars
- canning lids
- canning pot
Ingredients
- 4 pounds whole fresh Brussels sprouts
- 6 cups apple cider vinegar
- 4 cups water
- ½ cup Morton’s Kosher Salt
Per Pint Jar:
- 4 cloves garlic peeled
- ½ of a fresh jalapeno pepper optional
- 1 dried Sichuan Chinese pepper optional, or dried arbol chile pepper
- 1/4 teaspoon dried dill seed
- ¼ teaspoon celery seed
- ⅛ teaspoon coriander seed
Instructions
Prepare pint jars by washing them in the dishwasher.
- Place 4 cloves garlic, half a jalapeno pepper, a dried pepper, dill seed, celery seed, and coriander seed in each pint jar. Set them aside.
- Wash and trim the Brussels sprouts and cut away any dry spots. Remove any loose leaves. If the sprouts are large, cut in half from from pole to pole. Pack the raw, prepared sprouts into the jars. Do not pack too tightly.
- Bring the apple cider vinegar, water, and salt to a boil. Ladle over the Brussels sprouts in the jars, leaving ¼-inch of headspace between the brine and sprouts and the top of the jar.
- Wipe the rims with a paper towel moistened with vinegar then fix new, two piece lids to finger tip tightness on the jars.
- Place in a canner filled with boiling water to cover the jars by 2 inches. Add the lid to the canner.
- When the water returns to a full, rolling boil, set your timer for 10 minutes. Turn the burner off after 10 minutes and remove the lid of the canner.
- Let the jars stand in the water for 5 minutes before carefully transferring to a cooling rack or a towel lined counter. Let the jars rest, undisturbed, for 24 hours before removing the rings, wiping clean, labeling, and storing on shelves.
- Let the pickled Brussels sprouts rest for 2 weeks before opening. Once opened, a jar should last about 2 weeks in the refrigerator.
Nutrition
Nutritional information is an estimate and provided to you as a courtesy. You should calculate the nutritional information with the actual ingredients used in your recipe using your preferred nutrition calculator.
did you make this recipe?
Make sure to tag @foodiewithfam on Instagram and #hashtag it #foodiewithfamily so I can check it out!


Reader's Thoughts...
Tracie Rausch says
Was wondering if you could use rice vinegar for part or all the vinegar.
Rebecca says
Hi Tracie- You can definitely substitute in rice vinegar for all or part of the cider vinegar!
Debbie says
I have made all kinds of pickled veggies, and I prefer the dill seed and celery seed , but do not like the coriander or I do not like the mixed pickling spices either, but that’s an individual thing, I much prefer the garlic, dill and hot peppers together, Yum
Debbie says
In your description for list of ingredients, and the recipe instrutions there seems to be a discrepancy, first you called for celery seed, then you say to add celery salt, then you say to add dried dill seed to the jar, but your list of ingredients needed dill seed is not even mentioned, and coriander seeds?? Also?, Yes / No??
Rebecca says
Thank you so much, Debbie! I fixed the recipe! I appreciate your eagle eye in catching that!
Amanda says
Can you make the pickles without following the canning process?
Rebecca says
Hi Amanda- You can certainly store these in the refrigerator instead of on the counter, but you’ll want to let them sit at least a week before cracking them open if you don’t can them. 🙂 That’ll give the flavours a chance to meld and marry.
Danielle says
The instructions call for dill seed, but ingredient list does not list how much dill seed. Confused.
Rebecca says
Hey Danielle- I can see why you’re confused! Those should not be in the instructions. It should have read celery seed! I’ll fix that right now. Thank you for the heads up.