
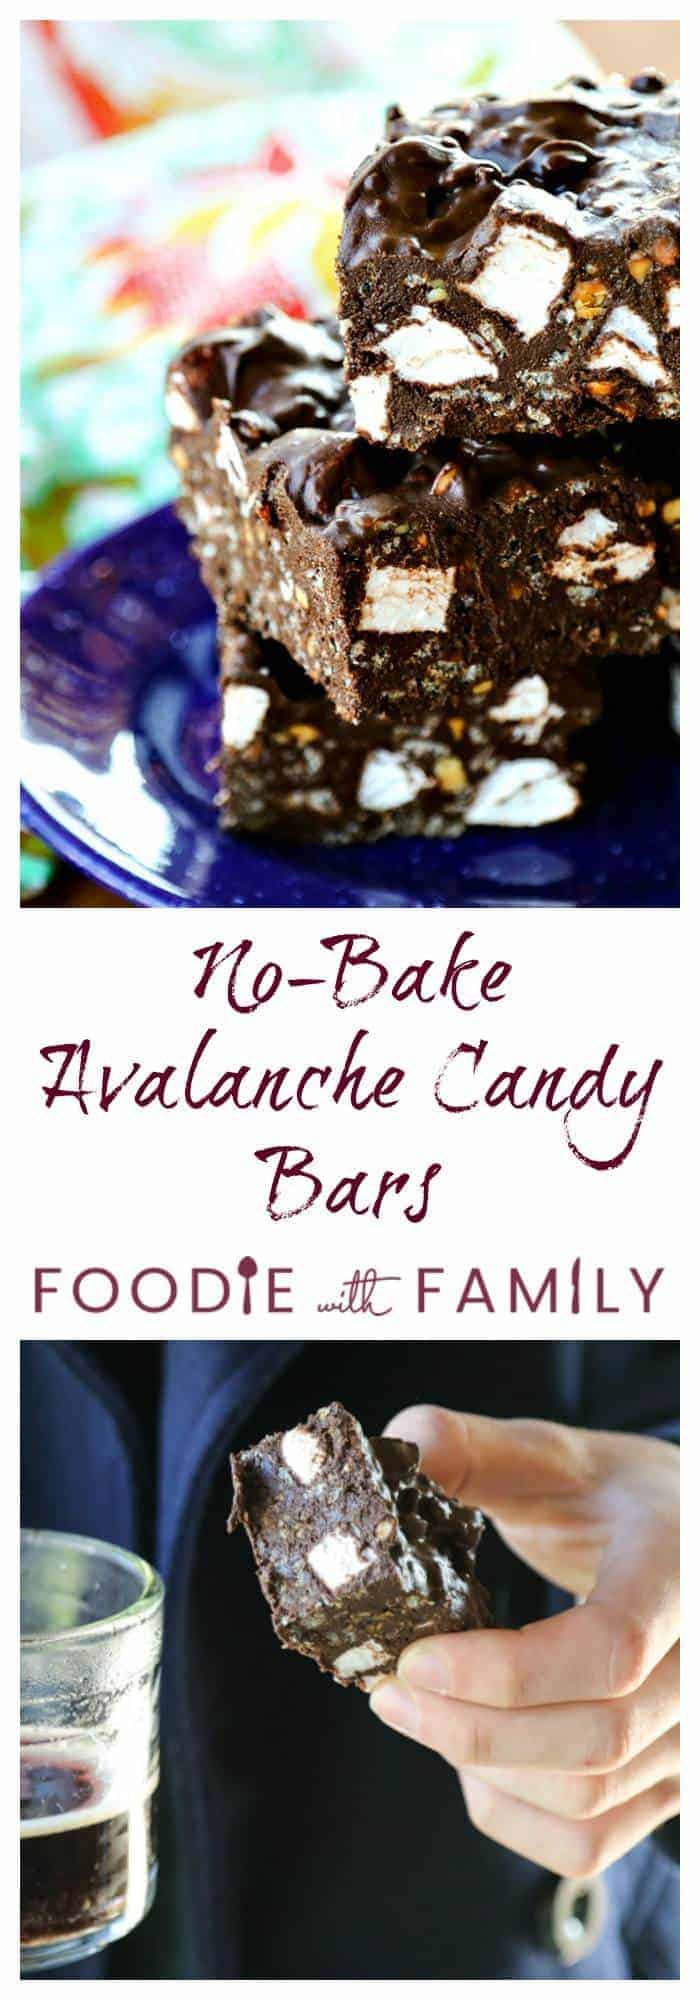
Today I’m sharing a very gently adapted recipe for No-Bake Avalanche Candy Bars from”The Simple Kitchen” by my friends Chad and Donna Ellick. I received a courtesy copy of from Page Street Publishers for review, but was not compensated to write this. All opinions, photos, videos, and nerdiness remain, as always, my own.
It’s no secret that this is my most favourite time of the year. Sweater weather?
Bosh! I call this food sharing weather. I’m sure it’s a form of nesting and getting ready for the winter, but I cook so much that -even with the size crowd I feed here at home- I find myself handing out food to friends and family.
Bustling around in a warm kitchen making tasty things while the chilly winds pick up outside is comforting to me. As I haven’t noticed anyone avoiding eye contact and running the other direction when they see me coming, I’m thinking that just maybe this is a mutually beneficial thing for my folks. I get the comfort and warm kitchen, they get the snacks. It’s symbiosis, people.
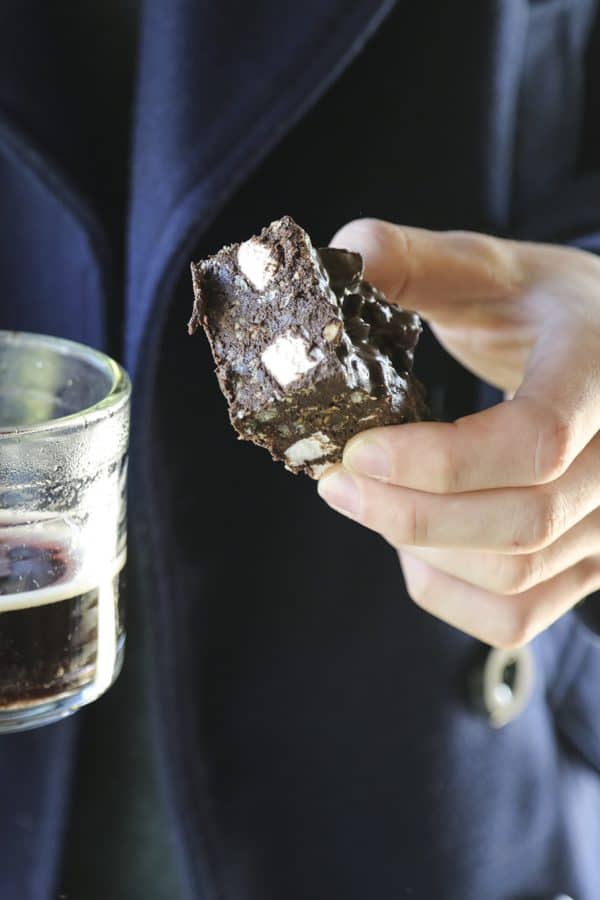
Today’s No Bake Avalanche Candy Bars are a perfect thing for this time of year. It takes mere minutes to throw them together then set them aside to firm up while you run errands or cook dinner or watch an episode or two of whatever flicks your Bic on Netflix.
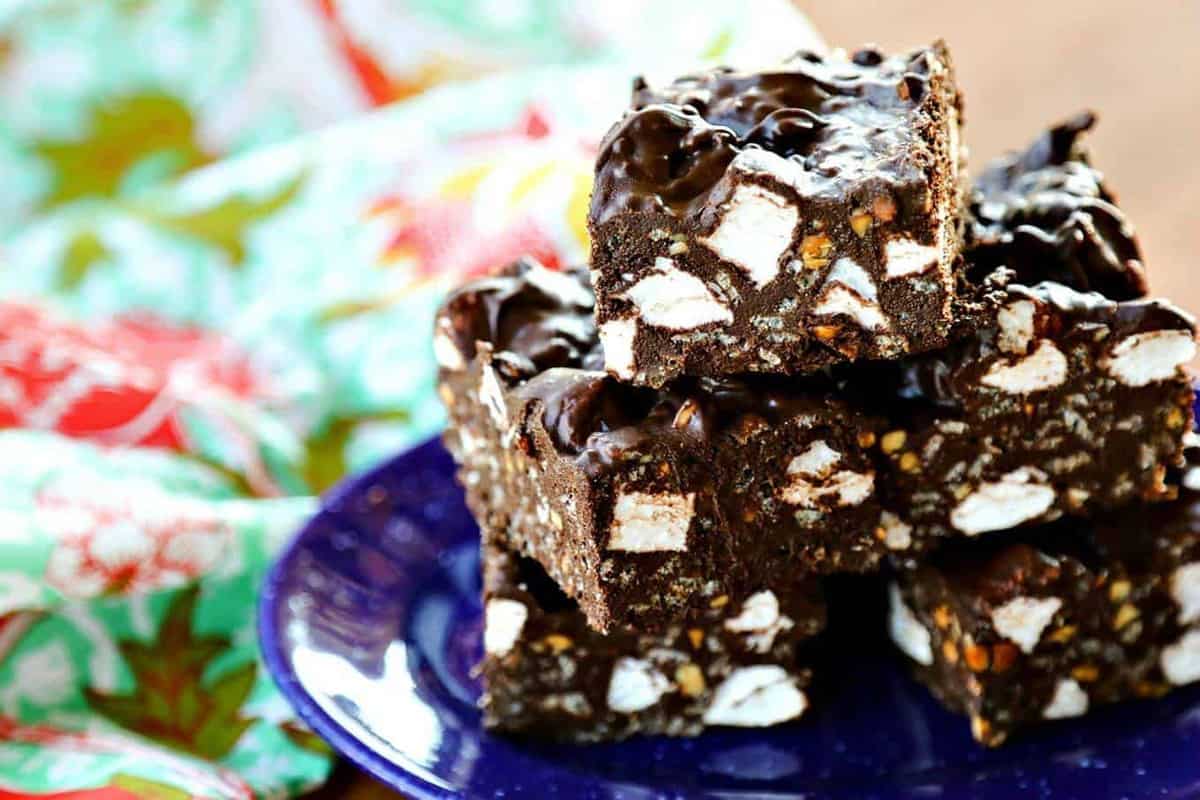
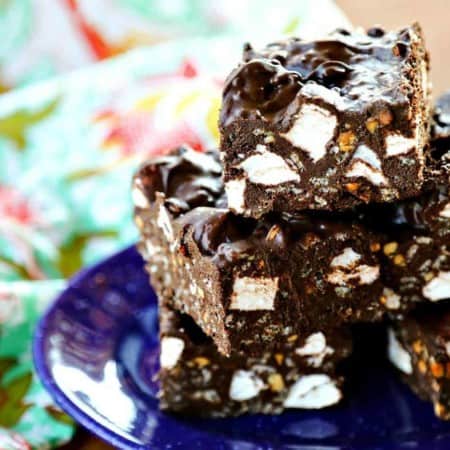
The point is that it’s beyond easy. And for your minimal trouble, you get pan full of homemade No-Bake Avalanche Candy Bars. They’re like a Nestle’s crunch plus rocky road fudge.
They’re pretty perfect. And one pan goes pretty darned far, so that little bit of work you did pays dividends in sweets to eat and sweets to share all in one fell swoop. BONUS: No-Bake Avalanche Candy Bars are naturally gluten-free and make a great dish to pass at a party or hostess gift!
Want some more deliciously different chocolate desserts? Try out our Grandma Val’s Hot Fudge Sauce, No Bake Caramel Stuffed Dark Chocolate Covered Pretzels, Hot Chocolate on a Stick, and Easy Double Chocolate Nutella Cookies.
No-Bake Avalanche Bars
Chad’s and Donna’s excellent cookbook specifies using chocolate candy melts, chocolate chips, and German’s chocolate for their No-Bake Avalanche Bars, but I have a deep and abiding preference for dark and/or bittersweet chocolate, so I subbed it in for an ever so slightly less sweet end product. Believe me, with the swap it’s still a candy bar, but it’s a No-Bake Avalanche Candy Bar for people who prefer their chocolate dark.
For comparison’s sake, I did try the recipe exactly as written in the book, so I can promise you it works beautifully as Chad and Donna wrote it.
I also used my favourite crunchy peanut butter –Peanut Butter and Co’s Crunch Time– which is an all-natural, no-stir peanut butter. Again, it’s slightly less sweet than most commercial peanut butters, but I would hazard an assertion that whatever crunchy peanut butter (or sunflower butter) you like best will work well here.
Don’t forget the salt! You always need a little hint of salt with your sweets, and I increased the amount specified in “The Simple Kitchen” but a fractional amount.
Use this to make No-Bake Avalanche Candy Bars
- Large glass bowl
- silicone spatula
- 9-inch by 13-inch pan
- aluminum foil
- cutting board
- chef’s knife
- crunchy peanut butter
Look how easy it is to make these No-Bake Avalanche Candy Bars!
No-Bake Avalanche Candy Bars
Rate RecipeIngredients
- 2 pounds dark chocolate, chopped (this can be any combination of chocolates you love
- 2 cups crunchy peanut butter
- 3 cups mini marshmallows
- 3 cups crispy rice cereal
- 3/4 teaspoon coarse kosher salt
- non-stick cooking spray
Instructions
- Line a 9-inch by 13-inch baking pan with aluminum foil, shiny side down. Spritz with non-stick cooking spray. Set aside.Add the chopped chocolate to a large, microwave safe bowl. Melt in the microwave at 50% power in 30 second bursts, stirring after each burst, until the chocolate is completely smooth. Stir the peanut butter into the warm chocolate until fully incorporated. Add the rice cereal, marshmallows, and salt and stir until everything is evenly coated.
Scrape the mixture into the prepared pan and smooth gently with a spatula. Let rest at cool room temperature until firm or stash in the refrigerator or freezer to speed the process. Once the candy bars are solid, cut into 24 to 48 pieces, depending on how generous you want to be.
Video
Nutrition
Nutritional information is an estimate and provided to you as a courtesy. You should calculate the nutritional information with the actual ingredients used in your recipe using your preferred nutrition calculator.
did you make this recipe?
Make sure to tag @foodiewithfam on Instagram and #hashtag it #foodiewithfamily so I can check it out!
The Simple Kitchen Details
Number of Photos: Each recipe has a corresponding photo; you don’t need to guess what your final product should look like because they’ve shown you.
Difficulty Level: Easy Beginner to Basic. I am confident that every single thing in this cookbook can be made by cooks with minimal or basic kitchen experience. These recipes are definitely crowd-pleasers and they’re written in a non-intimidating way with Donna’s helpful tips interspersed through the book.
Ingredients: Everything in here is easy to source and should be available in moderately stocked grocery stores. I did not see any ingredients that would send you to the nearest city scouring specialty markets. It’s designed to keep a busy family in good food. How handy is that?
Recipes I Tested: No-Bake Avalanche Bars and Chili Lime Steak Bites. They were both excellent. The Steak Bites make excellent football fare!
Recipes I Want to Try: Cheesy Taco Skillet, Crisp Apple Spinach Salad with Chicken, Slow Cooker Bourbon Brown Sugar Meatballs, Hearty Beef Soup, and 10-Minute Garlic Parmesan Broccoli. I mean, aside from my vegan mom and sister, who WOULDN’T want to try those?
Do I Recommend This Book: I certainly recommend it. Chad and Donna have created a book that is designed to please a crowd with recipes made from easy to find ingredients. It’s a wonderful resource to have on hand. This is a great book for people who love flavourful, hearty, satisfying food but don’t necessarily have a lot of time to create it.
Buy “The Simple Kitchen” here.
Looking for other excellent homemade candy recipes? Try these:


Reader's Thoughts...
Nicole Reza says
Any idea how these freeze?
Rebecca says
Hi Nicole! I haven’t tried freezing these, so I’m afraid I don’t have advice for you on this. If you try it, please let me know how it turns out for you.
Nicole says
Huge hit with the kids at Christmas
Rebecca says
Hi Nicole! Thanks for taking the time to rate the recipe and let me know you love it! I do so appreciate it.