Cherry season is cruelly short, but we can preserve some of their sweet, juicy goodness for the winter months in jams, jellies, juices, pie fillings, and pickles. Pickles?
Yes! Russian Pickled Cherries are a fabulous food preservation project for those who are intimidated by the canning process and veteran canners alike.
There’s no boiling water bath or pressure canner involved, rather this is an old-fashioned method of putting up cherries in a vinegar based liquid. The result is a tart, sweet pickled cherry that is divine with venison and pork roasts or a roast turkey.
A grand bonus from this project is amazing, vibrant red, cherry infused vinegar that is wonderful in vinaigrettes, other salad dressings, and drizzled on roasted vegetables. Think 4th of July, Labor Day, Thanksgiving, and Christmas!
Why would you pickle cherries?
You don’t have to tell me that when you think “pickles” the first thing that pops into your mind is quite probably NOT cherries. I get it.
Let me tell you something, though… These classic Russian Pickled Cherries are going to make you a believer.
Bursting with sweet cherry flavour that gets a boost in the tart department from cider vinegar, these deep, dark red orbs are a wonderful accompaniment to roast pork, venison, or turkey or roasted root vegetables. The tart/sweet, light, freshness helps cut the richness of strong flavoured or fatty meats.
This is a clever strategy borrowed from the Dutch by the Russians to make some of those cheaper cuts of meat that require longer cooking and/or are very fatty taste like premium cuts.

This is a great beginning food preservation project!
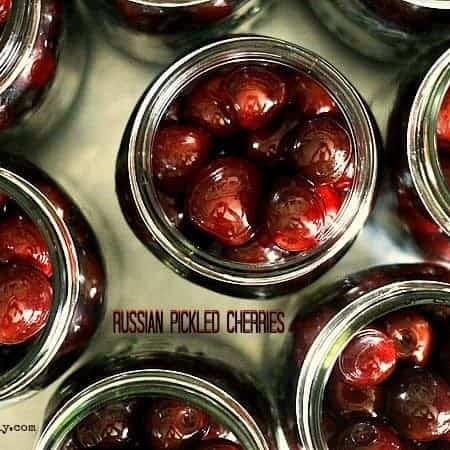
This is quite possibly one of the least intimidating food preservation projects you can take on because all there really is to it is to stem and wash the cherries. The pits stay intact to help the cherries hold their shape for visual appeal later.
After stemming and washing, they’re soaked in good, raw apple cider vinegar overnight, the liquid is drained into a pan, combined with some sugar and a handful of aromatic spices, boiled, cooled, and poured back over the cherries where it all sits together, becoming lovely and delicious, for three days. At the end of those three days, the liquid is again poured off of the cherries into a saucepan, brought to a boil, and cooled.
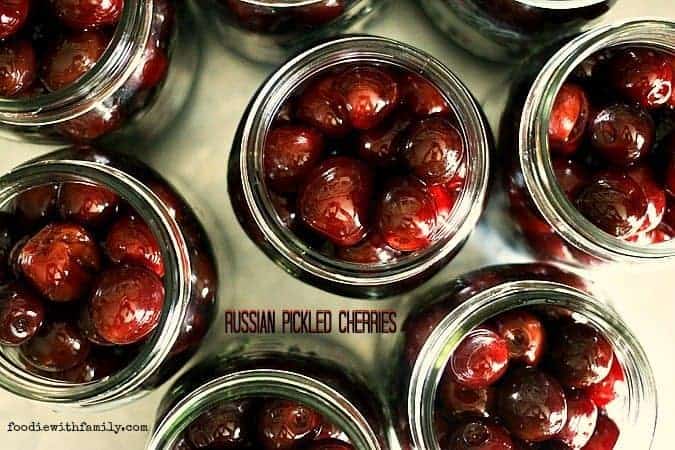
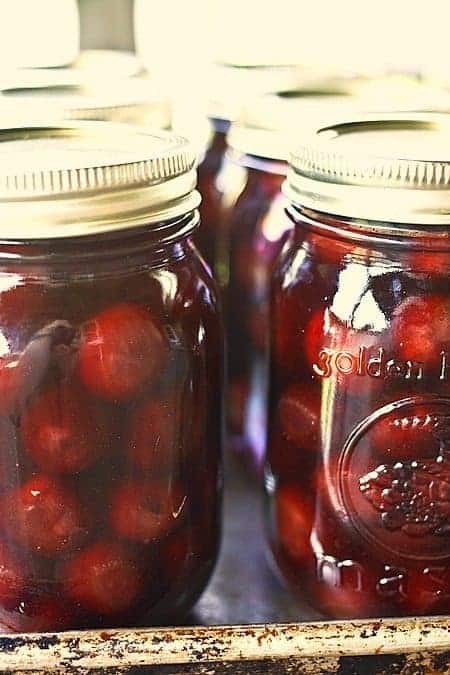
The cherries, meanwhile, are gently added to sterile canning jars (See here for instructions on how to sterilize jars!) and then the cooled liquid is strained of its spices and poured over the cherries. Clean lids are screwed into place, and the cherries are stashed in a cool, dark place where they are good for a year!
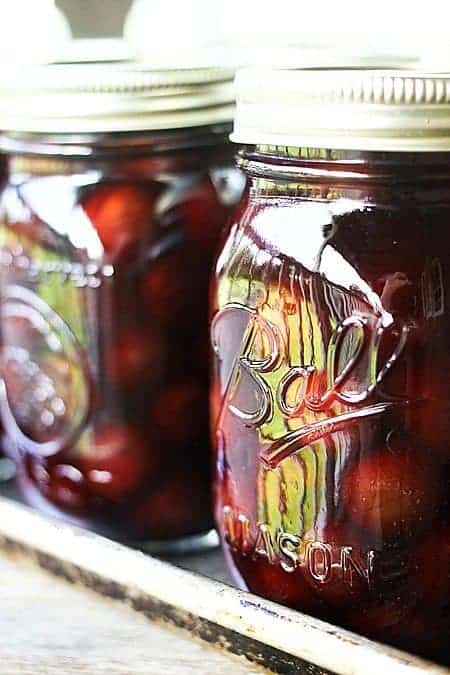
Isn’t that a piece of cake? Or bowl of cherries? And can I point out that my arms holding a camera up and over the jars is reflected in just about every single cherry in those jars? My kids think it’s super creepy. I think I agree.
Because the cherries themselves are neither pitted, nor boiled or even heated in this process, they maintain some of the lovely texture we love so dearly in fresh cherries. The colour DOES darken in the process, but that’s just natural.
And if you have a TON of cherries to put up, you’d better do yourself a favour and make these Rum Cherries and Boozy Cherry Molasses. Boy will you be happy you did!
If you’re truly pickle crazy, try out our Moonshine Pickles, Homemade Claussen Knock-Off Pickles, Candied Jalapenos, and Pickle de Gallo on for size. And don’t forget Pickle Pizza!
Pickled Cherries
Because there are two main flavours in this recipe -cherries and apple cider vinegar- go ahead and do yourself the favour of using a truly excellent cider vinegar. I only use Bragg’s Raw Apple Cider Vinegar![]() in this recipe. (That is an Amazon affiliate link.) It truly is the best tasting apple cider vinegar I’ve ever had, and since it’s one of the defining flavours, I advise springing for the good stuff here.
in this recipe. (That is an Amazon affiliate link.) It truly is the best tasting apple cider vinegar I’ve ever had, and since it’s one of the defining flavours, I advise springing for the good stuff here.
Yes, this process takes 4 days, but with the exception of draining the liquid into a pan, boiling it, and cooling it twice, then shifting everything into jars, it’s all hands-off. I’m going to estimate that 98% of the time in the recipe is hands off.
You don’t NEED to store this in the refrigerator, according to The Joy of Pickling![]() by Linda Ziedrich (also an Amazon affiliate link!) but you certainly can if you’re nervous about leaving something out in a cool, dark place. I would just remind you that vinegar doesn’t need to be refrigerated to keep, and this pickling liquid is almost pure vinegar.
by Linda Ziedrich (also an Amazon affiliate link!) but you certainly can if you’re nervous about leaving something out in a cool, dark place. I would just remind you that vinegar doesn’t need to be refrigerated to keep, and this pickling liquid is almost pure vinegar.
This recipe is specifically designed NOT to be canned. In other words, don’t try to can it to lengthen the shelf life, please. You will destroy the texture of the cherries and it is quite acidic enough to be safe when stored properly in a cool, dark cabinet or basement where the temperature doesn’t fluctuate much.
Hang onto that vinegar after you use the cherries! It makes INCREDIBLE salad dressings and vinaigrettes. It’s also just plain wonderful drizzled over roasted beets or carrots!
Russian Pickled Cherries
Rate RecipeIngredients
- 4 cups sweet cherries I prefer dark, stems removed but pits left intact
- 2 cups raw apple cider vinegar
- 1 cup raw sugar
- 2/3 cup water
- 2 cardamom pods lightly crushed with the side of a knife or a heavy pan to expose the seeds
- half of a cinnamon stick
- 8 scrapes of whole nutmeg on a rasp grater or fine microplane
- 2 whole allspice berries
Optional, but tasty:
- 2 teaspoons kirsch Clear cherry brandy
Instructions
- Put the cherries in a stainless steel, glass, or other non-reacive bowl. Pour the vinegar over top then shimmy the bowl gently from side to side to help them settle into the vinegar. Cover the bowl tightly with plastic wrap to help combat fruit flies and let it soak overnight.
- Drain the vinegar off of the cherries into a saucepan. Be careful here to hold the cherries back (or drain into a colander over a saucepan) because the cherries are little balls and will want to roll and bounce everywhere. Return the cherries to the bowl and cover tightly with plastic wrap. Add the raw sugar, water, and spices to the pickling vinegar and bring to a boil. Lower the heat and simmer the pickling liquid for 15 minutes. Remove the pan from the heat, cover, and let cool completely.
- Stir in the kirsch (if using!) and pour the liquid back over the cherries, shimmy the bowl gently again, cover tightly again with plastic wrap, and let stand at room temperature for 3 days. After three days, drain the liquid from the cherries into a saucepan again and bring to a boil. While the liquid is heating and coming up to a boil, use clean hands to transfer the cherries gently from the bowl to sterile canning jars. Lay a lid over the jars to keep fruit flies out. After the liquid comes to a boil, remove from the heat, put a lid in place, and let it cool completely to room temperature. When it has cooled, lift the lids from your jars and pour the pickling liquid over the jars to cover the cherries. There is a good chance you will have extra pickling liquid left. Pour that into a sterile jar, too! Wipe the rims with a paper towel dipped in vinegar, then fix the two-piece, non-reactive lids in place. Screw the rings on until fingertip tight, label the jars, and store in a cool, dark place for at least 1 month before eating, but up to a year!
Nutritional information is an estimate and provided to you as a courtesy. You should calculate the nutritional information with the actual ingredients used in your recipe using your preferred nutrition calculator.
did you make this recipe?
Make sure to tag @foodiewithfam on Instagram and #hashtag it #foodiewithfamily so I can check it out!


Reader's Thoughts...
Jason Dean says
I’ve made it twice now whenever we get a bumper crop of cherries, and this is my go to recipe! The cherries end up sour and bright tasting in tandem with the sweet, like sweet and sour sauce for pork. The spices used give them a wonderful warm flavor too! I like to use them in any lemon-lime soda to kick it up a notch, similar to a Shirley Temple but sour (A Sour Temple?) and it’s just delicious.
Rebecca says
Thanks so much, Jason! I do so appreciate you taking the time to rate the recipe and let me know you love it.
Carly says
Do you strain or scoop out the seeds and berries etc at any point?
Rebecca says
Hi Carly! I do not strain them, but if you’d like to, you’re welcome to do so. 🙂
Candace says
Ive used this recipie once before….today I am using it again with a chocolate stout vinegar i made. Excited to see how it works.
Rebecca says
Oh my goodness! That sounds amazing. Please check back in to let me know how it works!
Carolyn Henderson says
Will be doing this later today as just collect a heap of yummy cherries from local grower.
This seems such an easy way to do pickled cherries but l will use brandy as I have some left over from doing my own cherries in a spicy brand syrup.
Pickle Cherries believe me are to die for so yum with a cheese platter
Rebecca says
Hi there, Carolyn! Thanks so much for taking the time to let me know you’re excited about this! The brandy syrup sounds delightful. 🙂
Alexia says
So I just found this amazing recipe and was so excited to make it but none of the stores have cherries anymore. Can it be done with frozen cherries? Or do I need to wait until cherries are back in season? 🙁
Rebecca says
Hi Alexia- I haven’t tried these with frozen cherries. If you give them a go, please let me know how it works out. I’m inclined to say wait ’til cherry season, but I’m curious!