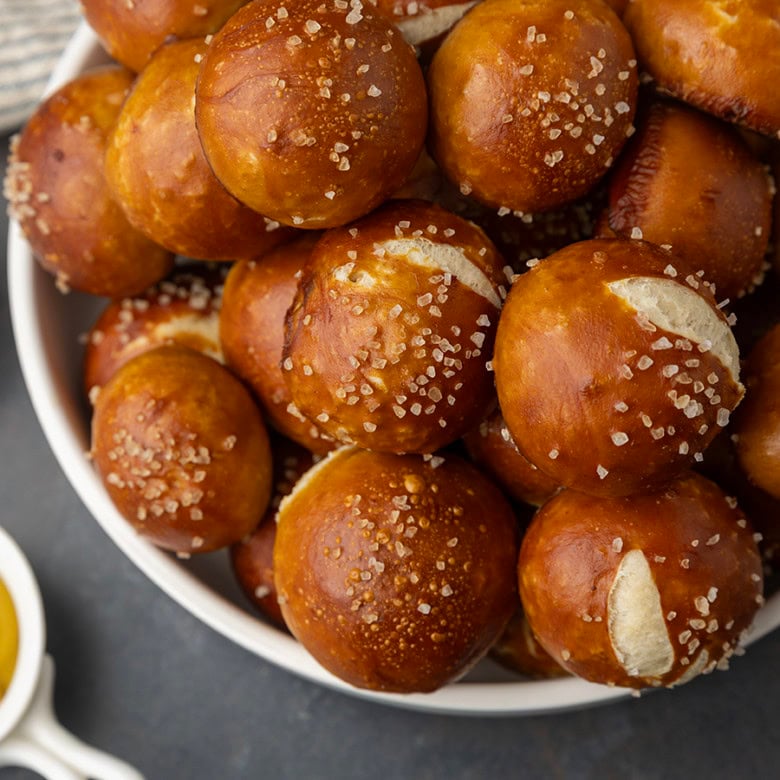

Soft, chewy, and deeply browned, sourdough discard pretzel bites are so tempting and so easy, they’re reason enough to maintain a sourdough starter all by themselves. Whether you give them the classic salt treatment or dip them through melted butter then cinnamon sugar, you’re about to be so impressed by yourself!
Sourdough Discard Pretzel Bites
Discard sourdough pretzel bites are the perfect intro to baking with sourdough discard. You get the tangy goodness of sourdough without having to learn the full sourdough technique.
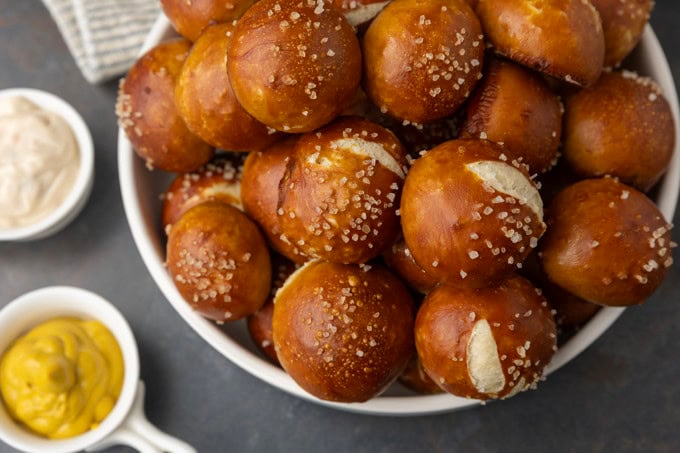
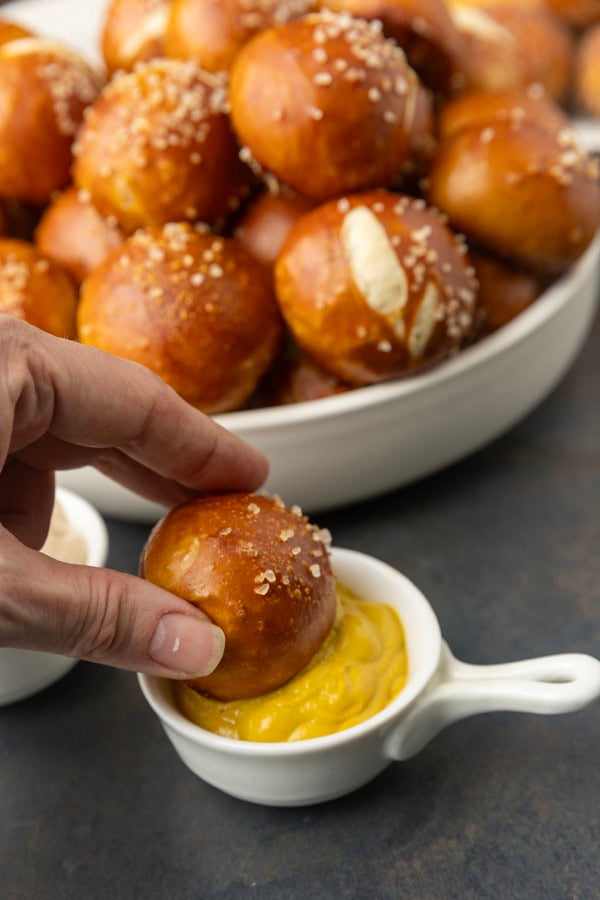
You can dip these irresistible little pretzel nuggets in mustard or queso or whatever makes you happy. Game day and snack time just got a lot tastier!
You’ve probably heard that you need to boil your soft pretzels before baking. That is both false and true.
To get that chewy outer crust on your sourdough discard pretzel bites recipe, you need to raise the ph of the water you’re going to use for the boil. You can make this with a gentle simmer in water spiked with baking soda which will yield a pretty golden brown exterior.
To get it to a deeper brown, you need a little help; try baking your baking soda! That’s right!
Spread 1 cup of baking soda evenly over a foil lined sheet pan. Bake in a preheated 250ºF oven for one hour then cool completely. Then use the foil to lift and funnel it into an airtight jar.
Cover and store at room temperature until you need to make pretzels. This method will make enough for two batches of pretzels or pretzel bites.
This is sort of the happy medium method. It makes darker pretzels than a simple baking soda boil, but doesn’t require all the caution needed in lye pretzels.
The baked baking soda method will bring you closer to the traditional German pretzel look and texture. But for the real deal, traditional Bavarian mahogany brown pretzels with the signature chew and blistered exterior, you’re going to need to play the mad scientist a bit. Reach for food grade lye to achieve this!
It can be a little scary using lye if you haven’t done it before, but it’s not so bad! Even with the necessary safety rules I find it easier and less of a hassle than boiling pretzels. When making German lye pretzels, you just dunk the pretzel bites in cold lye water vs simmering them.
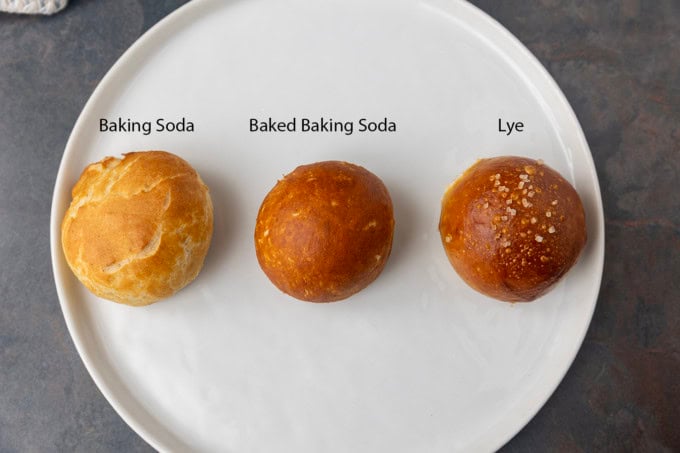
From left to right in this photo, we have a pretzel bite prepared in a simple baking soda boil, a baked baking soda boil, and a lye dunk. You can see that the baked baking soda gets you close colourwise, but for a blistered super chewy pretzel, it has to be lye every time!
If you’re taking the dive (as I most often do) and going for the lye pretzels, you’ll need to take some precautions. Here are a couple safety rules for working with food grade lye:
- Wear gloves and safety goggles
- Always add the lye to COLD water (NEVER add the water to the lye and never use warm or hot water)
- Use a glass or plastic bowl to hold the lye water
- Do not hold your head over the bowl while adding the lye to the water
- Carefully pour the lye water down the drain when done
- Wipe down the counter, bowl, and utensils with vinegar after you dip the pretzels to neutralize anything left behind
Pretzel Bites Sourdough Discard
It is worth noting that the consistency of sourdough discard can vary wildly depending on its age. If you have a container of discard that’s been languishing in your refrigerator for a month or so, it’ll be very liquid. If your discard is relatively new, it’ll be sturdier.
You may find you need to add a few extra tablespoons of water to the dough when using fresher discard. That is fine! Just go slowly and add it a little at a time. Be sure to work the water in fully after each addition to avoid adding too much.
When it comes to salt, you want to use a coarse salt that won’t melt during baking. I go for this inexpensive pretzel salt. It doesn’t cost much and it keeps forever so long as you seal the bag when you’re done!
If you don’t want to order pretzel salt, you can use an extra coarse sea salt. Keep in mind, though, that pretzel salt is “less salty” tasting than regular salt, so you’ll want to use a little less. Also remember it is likelier than pretzel salt to melt a bit during baking.
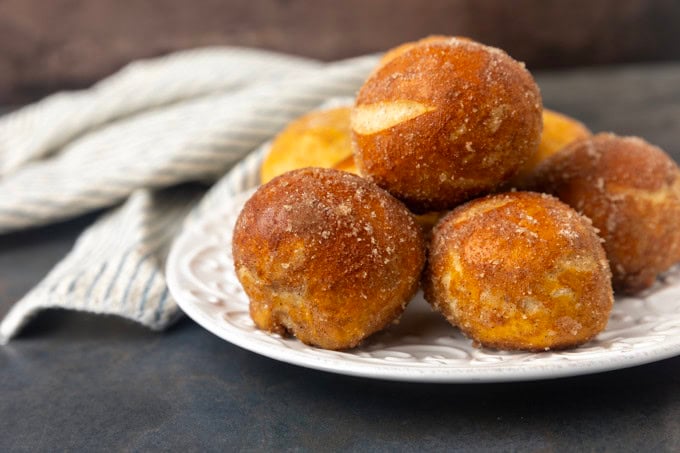
Don’t be afraid to skip the salt altogether and roll these in melted butter then cinnamon sugar instead. My sons go crazy for the sweet version, too.
To make your sourdough pretzel niblets, I recommend having the following equipment:
- half sheet pans
- silpats or premium parchment
- slotted spoon
- dutch oven or everyday pan (if boiling pretzels)
- glass mixing bowl (if lye dipping the pretzels)
Looking for more ways to use your sourdough discard? Try Roasted Garlic Rustic Sourdough Boule: a classic, chewy, full-flavoured, rustic sourdough bread gets a little dressed up with roasted garlic cloves that are rolled into the dough when it is shaped. Tender, chewy and able to stand up to the most substantial fillings, The Most Perfect Soft Pretzel Rolls are my ultimate choice for burger buns.


Sourdough Discard Pretzel Bites
Rate RecipeEquipment
- silpat or premium parchment paper
- slotted spoon
Ingredients
Ingredients for dough:
- 4 cups bread flour 1 pound 1 ounce by weight
- 1 tablespoon granulated sugar 1/2 ounce or 14 grams by weight
- 2 teaspoons SAF or instant yeast
- 1 1/4 teaspoons kosher salt
- 1 cup whole milk
- 1/2 cup unfed sourdough starter 4 ounces or 113 grams by weight
Ingredients for pretzel boil:
- 2 quarts water
- 1/2 cup baking soda See notes! (or 40 grams of food grade lye)
Optional ingredients for toppings:
- 2 tablespoons pretzel salt
- melted butter
- cinnamon sugar
Instructions
To Make the Dough:
- In the work-bowl of a stand mixer fitted with a dough hook (or in a mixing bowl using your hands), combine the flour, salt, sugar and yeast. Mix on low about 30 seconds, or just to combine dry ingredients. With mixer still on low, carefully pour in the milk and sourdough starter. Continue mixing on low or by hand until you have a smooth, slightly tacky dough. Remove bowl from the mixer, cover with a damp tea towel and set aside to rise in a warm, draft-free place until nearly doubled in bulk and puffy, about an hour or so.
To Form the Pretzels:
- Line two half sheet pans with silpats or premium parchment. If using parchment, spray generously with non-stick cooking spray. Set next to your work area.
- Turn the dough out onto a clean surface.
To Form Pretzel Bites:
- Use a bench knife to cut the dough into 12 equal pieces. Roll each piece like play-dough until you have a snake of dough about double the circumference of your thumb.
- Cut into 2-inch pieces and roll each piece into a ball.
- Transfer the pretzel bites onto the lined baking sheets, being sure to leave generous amounts of room between them. They will expand as they rise and again as they bake. When you have dealt with all the dough, cover the pans with tea towels and let them rise in a warm, draft-free place until puffy looking, about 20 minutes.
- Preheat oven to 400°F.
Option One: Boil the pretzel bites:
- 2 quarts of water to a boil in a stainless steel or other non-reactive pan (enameled cast-iron, tempered glass, etc…) When water simmers, add the baking soda. Gently lift the pretzels or pretzel rods one at a time into the boiling water. (You can boil more than one at a time, but be sure not to crowd the the pan as they will expand as they boil. Let simmer for about 30 seconds. Use a slotted spatula or spoon to drain and return each piece to its place on the pan. Continue until all pieces have been boiled and returned to the pan.
Option Two: Lye Dip the Pretzel Bites
- Add 2 quarts of very cold water to a glass or plastic mixing bowl. Carefully stir in 40 grams of food grade lye with a stainless steel slotted spoon or plastic/silicone spatula.
- Using gloves, lower several pretzel bites into the water. After 15 seconds gently flip them over and let them stay in the water another 15 seconds. Lift the pretzel bites, allowing excess water to drain away before replacing them on the lined sheet pans. Be sure to allow space between them for them to expand while baking.
To Bake the Pretzel Bites
- Sprinkle each pretzel with about a sprinkle of pretzel salt to taste. Place pans in oven and bake the pretzels at least until golden brown (at least 10 minutes), but you can bake until they are deep brown which is my preference (closer to 15 minutes in my oven.)
- Let stand for at least 5 minutes before eating. These are best enjoyed warm, but can be stored in non-airtight container such as a bowl covered with a clean tea towel or a paper bag that is cinched or clipped shut at room temperature for a couple of days. They can be quickly reheated prior to serving.
Notes
Nutrition
Nutritional information is an estimate and provided to you as a courtesy. You should calculate the nutritional information with the actual ingredients used in your recipe using your preferred nutrition calculator.
did you make this recipe?
Make sure to tag @foodiewithfam on Instagram and #hashtag it #foodiewithfamily so I can check it out!


Comments + Reviews