Let me just get this out of the way. I didn’t call this a ‘vegan pudding’ even though it IS one because I didn’t want you to run away screaming. Vegan pudding doesn’t sound very appealing (at least to me) but this pudding is… well… it’s AMAZING. That’s what it is. Unreal. Silky smooth. Decadently chocolatey. Perfumed with Chambord (black raspberry liqueur). I tell you this -speaking as a tried and true, loyal full dairy pudding lover- I never once missed milk or cream in this recipe. The fact that it’s done with the speed of instant pudding certainly doesn’t hurt.
So how do we get this luscious pudding without any dairy? Believe it or not, tofu does the job. Silken (soft) tofu is a blank slate when it comes to flavour (read: it has none of its own) and ‘disappears’ completely in the presence of chocolate and Chambord. What it provides, though, is the perfect creamy, thick pudding texture that we pudding lovers value so much. It feels almost like a magic trick.
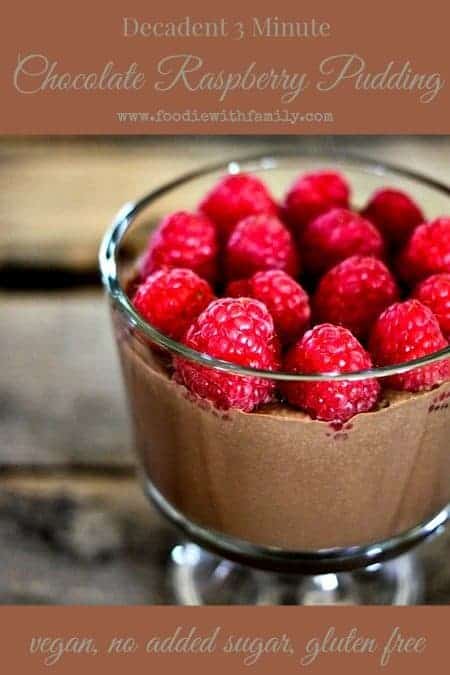
It just gets better and better though, because this pudding isn’t cooked over a double boiler or made with constant stirring. It’s made in the BLENDER. Seriously… the closest you get to cooking with this recipe is when you melt the chocolate. WHIZZZZZZBLENDWHIRRRRRR go the melted chocolate, Chambord, vanilla, and tofu in the blender. You pour it into dessert dishes (or into one big dish if you’re low-maintenance), on goes the plastic wrap (and you don’t have to cover the surface like you do with traditional dairy pudding because this is not prone to ‘forming a skin’. Ew.), and into the refrigerator it goes for at least one hour. The truth is, it’ll be ‘soft set’ like instant pudding almost as soon as you’ve poured it into the dishes. If you’re partial to a warm pudding, I say dig in. I have from time to time. But if you want the big TADA!, you’ll want to refrigerate it for one to two hours, then cover with a layer of fresh raspberries.
I feel compelled to tell you that I engaged in a little trickery when I served this to my family. My husband is an adventurous eater, but doesn’t like it when I ‘mess with’ his favourite desserts; pudding is on that list. When I made this, he was on his way home from a business trip. He sat down on the couch that night and I shoved a dish of this in his hands. His eyes widened with delight and I handed him a spoon and stayed TOTALLY MUTE. People, that is HARD for me. He said, “Chocolate pudding! My favourite!” I smiled and nodded. He took a bite… “This is some of the best pudding ever! It’s so good.” and then HE fell totally mute so he could enjoy his pudding in silence. I said, “Hey. Did you catch the secret ingredient?” He said, “Oh, it was Chambord, wasn’t it? Really, really good…” as he scraped the bowl clean. I said, “There was no milk in it.” He looked at me and said, “Are you serious? How’d you do that?” When I said tofu, I thought he was going to drop his spoon. Then he thought for a second, licked his spoon and said, “Do you have any more of these in the fridge?”
Cook’s Notes:
- YES. This pudding IS dairy free and gluten-free naturally. It is NOT necessarily sugar free, depending on the chocolate you use. I use a high-quality, bittersweet chocolate that does have sugar in it. If you prefer a sugar free chocolate, there are some available out there. I’m just not personally familiar with them. The pudding does not have added sugar, though, so I’m still calling this a healthy win.
- I believe much of the alcohol evaporates out as you’re heating it with the chocolate, but if the presence of alcohol is any concern, you can certainly omit it. In that case, melt the chocolate by itself, and when you add it to the blender, pop 2 tablespoons of rasperry jam in the blender with the remaining ingredients. It will be different, but still good.
- I love my Vitamix Blender for this job because it’s the Cadillac of blenders. If you’re currently hunting for a blender, use your money wisely and snap up a Vitamix. I have never used such a powerful blender in my life.
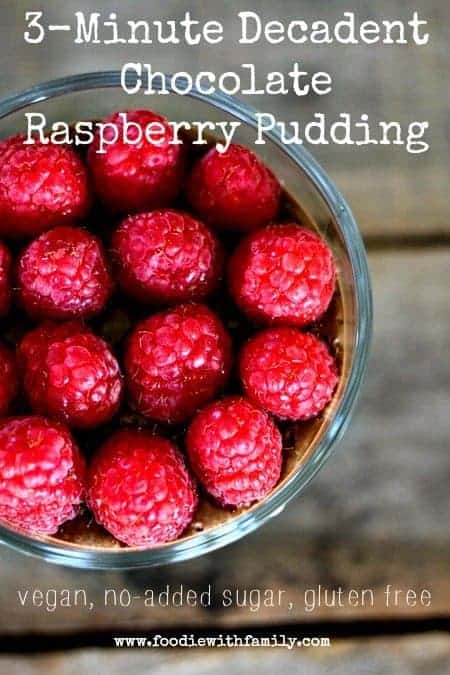
3 Minute Chocolate Raspberry Pudding {Dairy Free, Vegan, No-Added Sugar, Gluten-Free}
Rate RecipeIngredients
- 1 pound silken or soft tofu drained
- 12 ounces dark or bittersweet chocolate chunks
- 1/4 cup Chambord or other raspberry liqueur
- 1 teaspoon vanilla extract
Optional for serving:
- fresh raspberries
Instructions
- In a microwave safe dish (or over a double boiler), combine the chocolate chunks and raspberry liqueur. Heat on HIGH for 1 minute, stir with a rubber or silicone spatula until smooth. If there is still a great deal of unmelted chocolate, you can return the bowl to the microwave in 10 second bursts, stirring well after each burst, until the chocolate is perfectly melted and smooth. Add to the blender with the tofu and vanilla extract. Put the lid in place and blend for 1 minute or until smooth. Pour into dessert bowls or a big bowl, cover with plastic wrap and refrigerate for 1 to 2 hours, or until well chilled and set.
- If desired, serve with a handful of fresh raspberries on top.
Nutritional information is an estimate and provided to you as a courtesy. You should calculate the nutritional information with the actual ingredients used in your recipe using your preferred nutrition calculator.
did you make this recipe?
Make sure to tag @foodiewithfam on Instagram and #hashtag it #foodiewithfamily so I can check it out!


Reader's Thoughts...
P Hernandez says
I made this last year and loved it! I am unable to locate the soft or silken tofu now. Can it be made with firm tofu?
Rebecca says
Hi P! I wouldn’t try it with firm tofu. You can order silken/soft tofu through Amazon.com!
Daina says
I have a tofu mayonaisse recipe that’s super yummy so this defintely needs a try as well!
katie says
Just made this and it was super quick and awesome 🙂