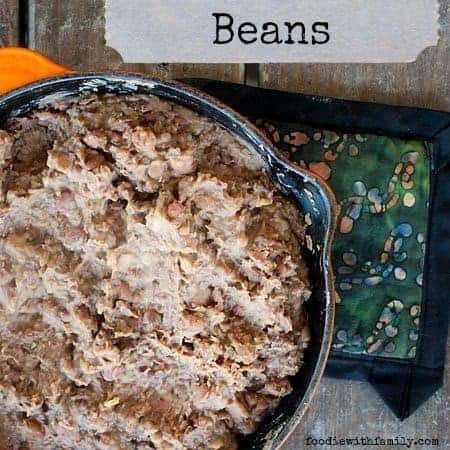
Homemade Garlicky Refried Beans
There's nothing like these flavour packed, creamy, slightly smoky and spicy Homemade Garlicky Refried Beans. They blow the stuff in a can out of the water in taste, texture, AND nutrition while being easy to make and easy on your wallet!
Ingredients
- 1 pound dried pinto beans 2 cups
- 8 cloves garlic peeled but left whole
- 1/2 an onion trimmed of both ends, peeled, and roughly chopped
- 2 bay leaves
- 1 Ancho pepper dried poblano chile, wiped clean, stem and seeds removed
- 1 tablespoon dried oregano
- 2 teaspoons kosher salt
- 1/4 to 1/2 cup peanut canola, or vegetable oil, vegetable shortening, lard, or bacon grease
Instructions
- Preheat the oven to 275°F.
- Put the pinto beans into a colander. Pick through and remove any foreign objects and dried, shriveled or discoloured beans. Rinse them well and put them into a 3 quart or larger dutch oven. Cover the beans by 2 to 3-inches of fresh water then stir in the garlic, onion, bay leaves, Ancho pepper, oregano, and salt. Bring to a boil, put the lid tightly in place on the dutch oven and place in the oven for 60-90 minutes (*See notes), or until the beans are quite tender.
- Add the fat of choice to a cast-iron or other heavy-bottomed 8 to 12-inch skillet over MEDIUM HIGH heat. When it is shimmery, use a ladle to transfer about 3 cups of the cooked beans and liquid to the skillet. When this comes to a boil, add 2 more ladles-full of beans and liquid. Let it return to a boil and repeat the process (2 ladles then boil) until all the beans have been added then drop the heat to MEDIUM LOW. Stir the mixture vigorously with a wooden spoon to help break up the beans. Keep simmering until most of the beans are broken up and the mixture is creamy and thick. There will still be some whole beans visible in the pan(**See Notes). Keep in mind that the mixture will continue to thicken as it cools.
- Taste the beans and adjust with salt if desired.
Notes
*The final cooking time on the beans is largely dependent on how old your dried beans are. This doesn't necessarily mean that if you just bought them they're newer. That's okay, it's a product that's MEANT to be shelf-stable for years. Just have a little patience, add more water while it's in the oven if it starts running out too soon, and you'll be rewarded with delicious beans!
**If you want a smoother end-product, you can use a potato masher in the pan to help break up the beans while they cook. If you want an ULTRA smooth finished product, you can whirr the cooked beans in a food processor fitted with a metal blade.
Nutritional information is an estimate and provided to you as a courtesy. You should calculate the nutritional information with the actual ingredients used in your recipe using your preferred nutrition calculator.
did you make this recipe?
Make sure to tag @foodiewithfam on Instagram and #hashtag it #foodiewithfamily so I can check it out!