Be sure to scroll to the end of the post to enter to win $500 in Paypal Cash!
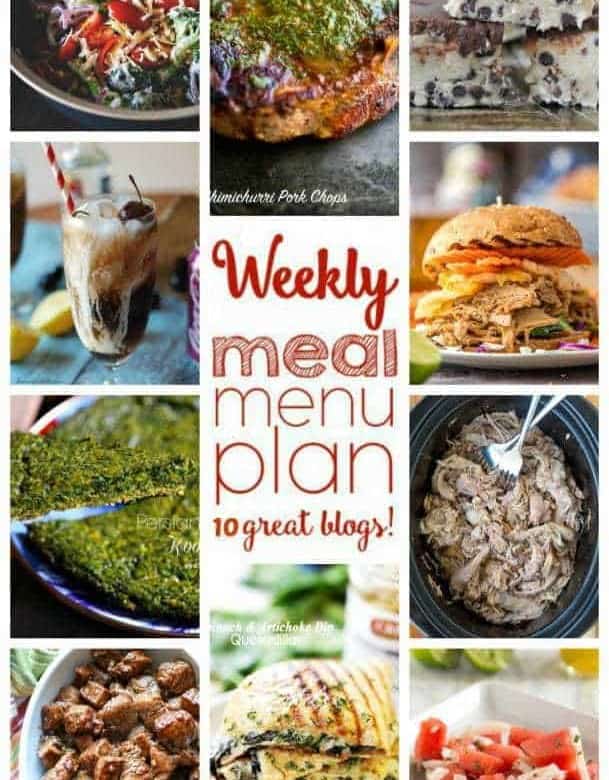
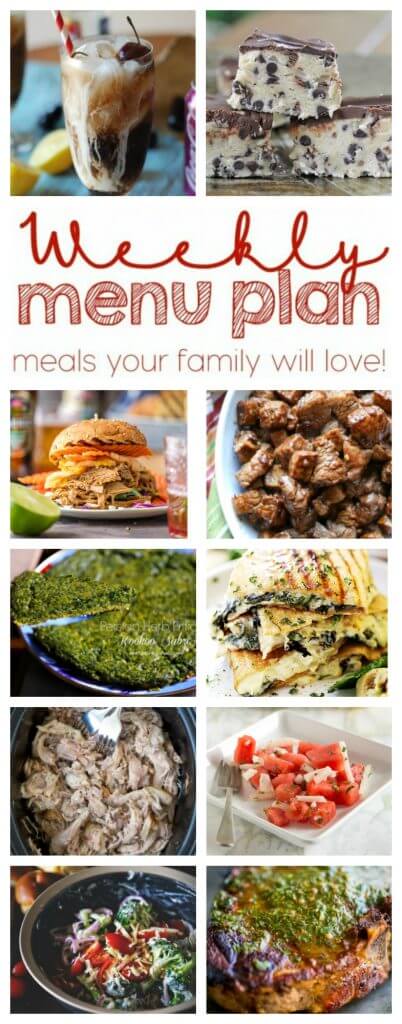
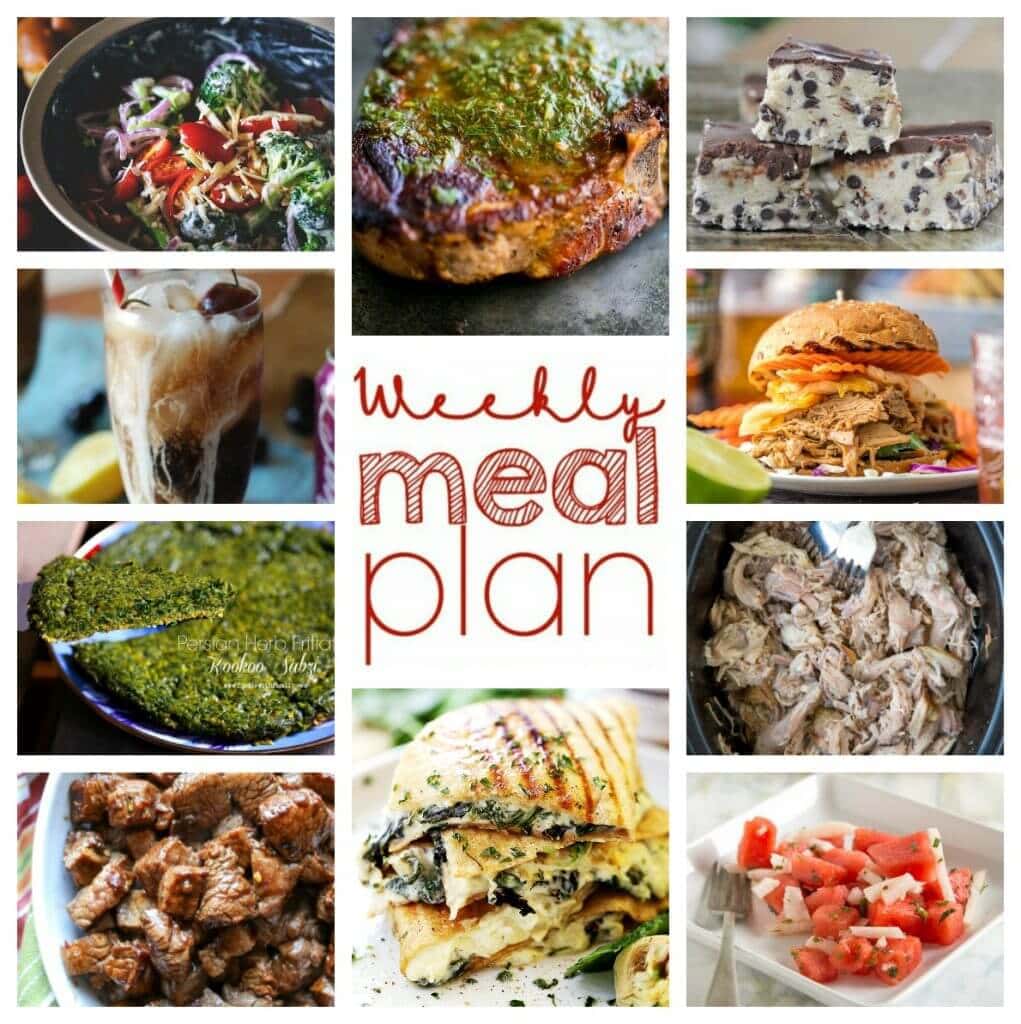
Weekly Meal Plan Week 51 – 10 great bloggers bringing you a full week of recipes including dinner, sides dishes, and desserts!
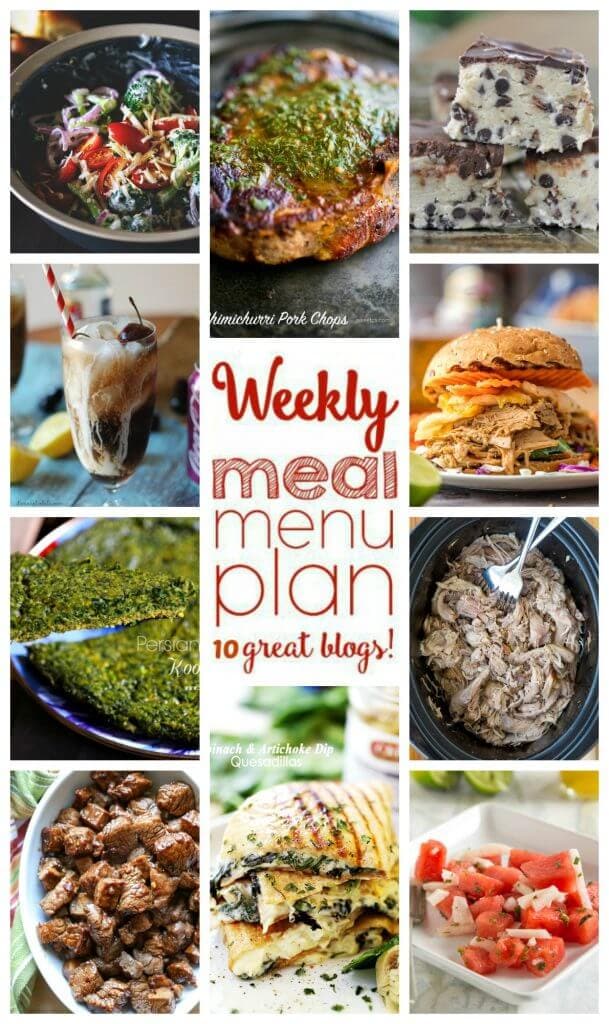

Spinach & Artichoke Dip Quesadillas – Diethood


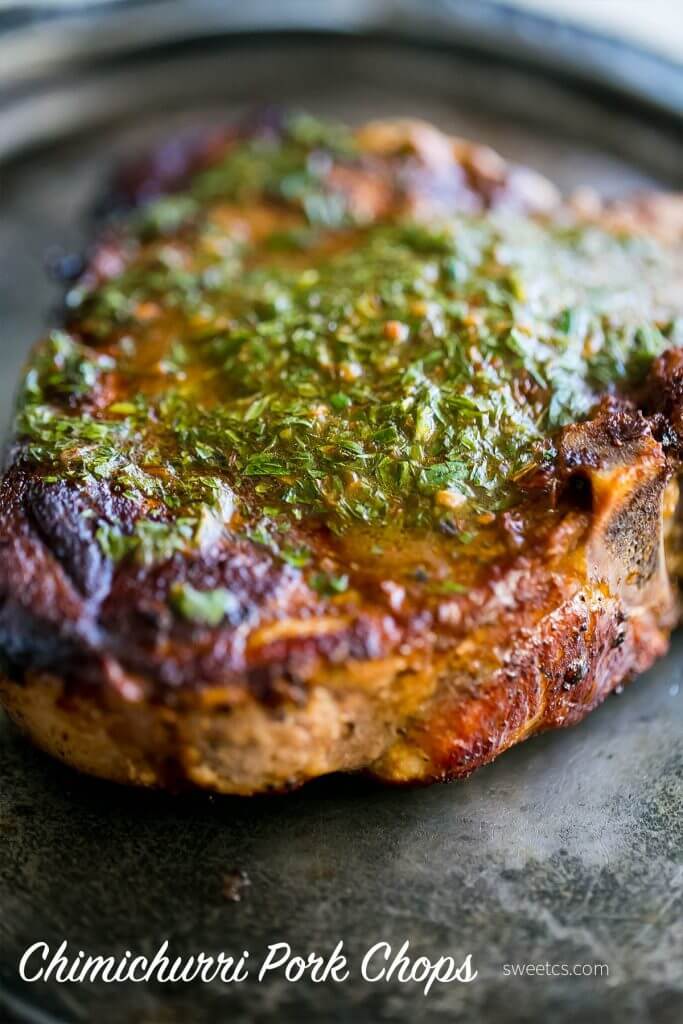
Pork Chops with Carrot Top Chimichurri – Sweet C’s

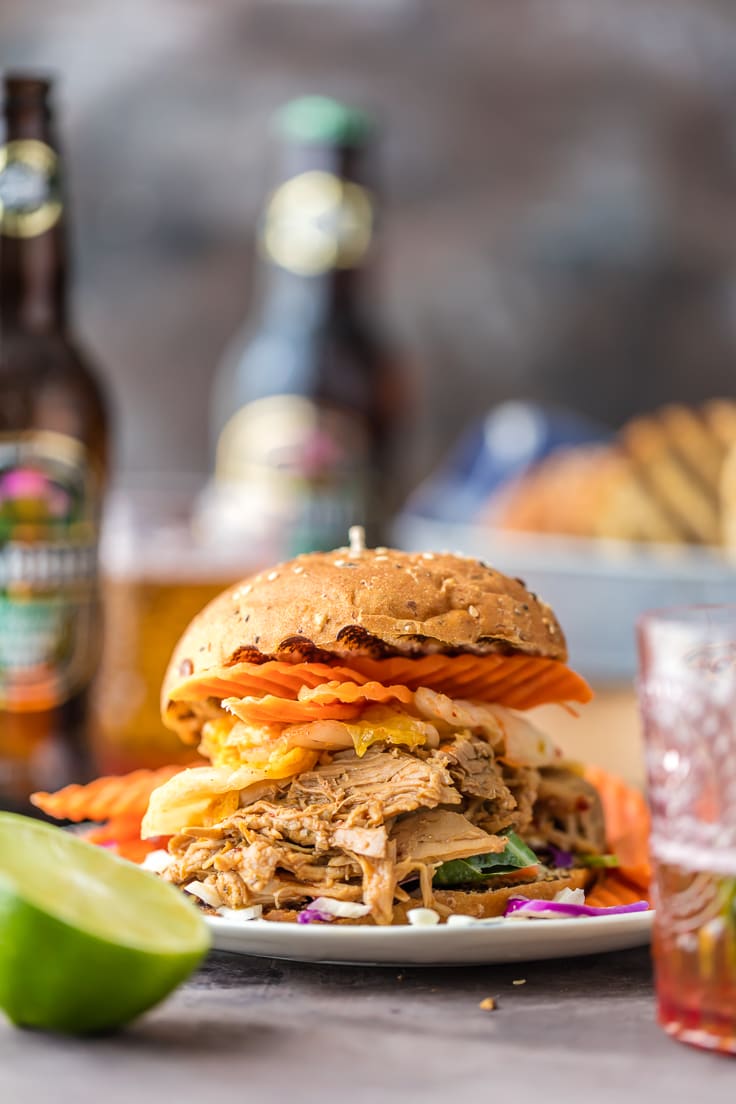
Ginger Pulled Pork – The Cookie Rookie

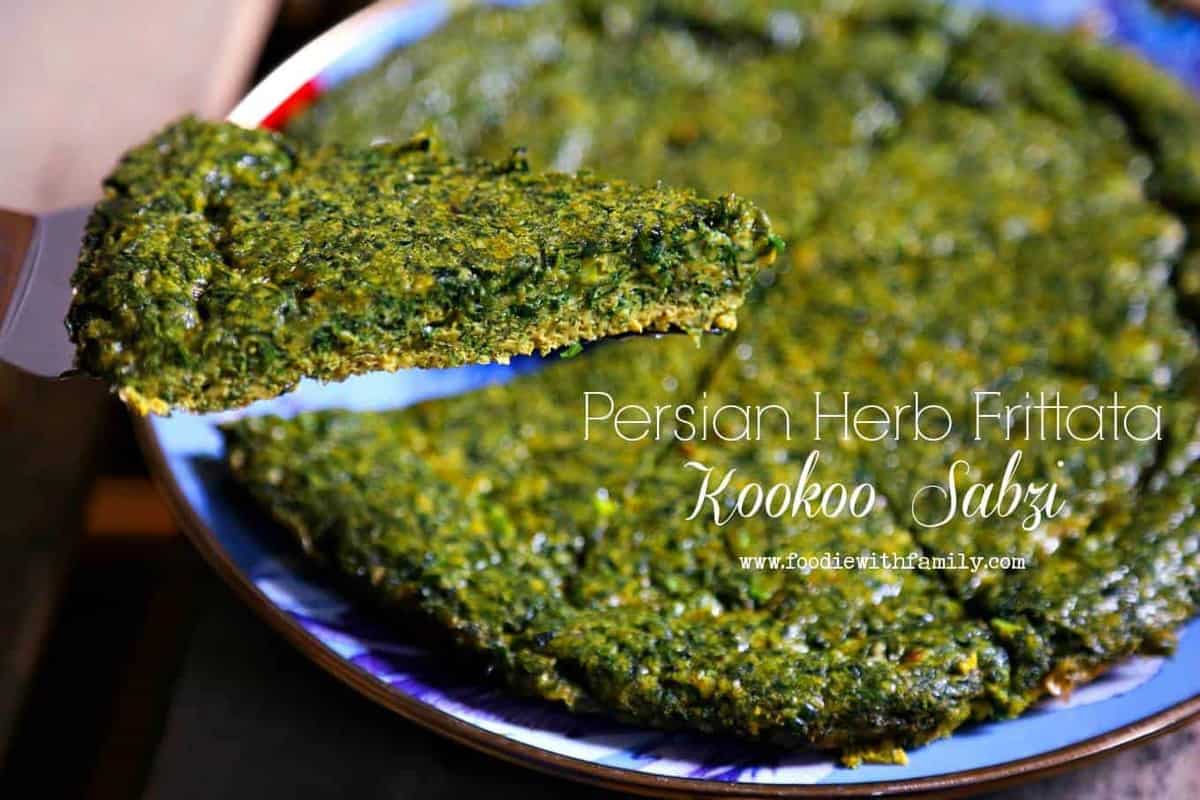
Persian Herb Frittata (Kookoo Sabzi)- Foodie with Family

Kitchen Closed – Enjoy a night off!

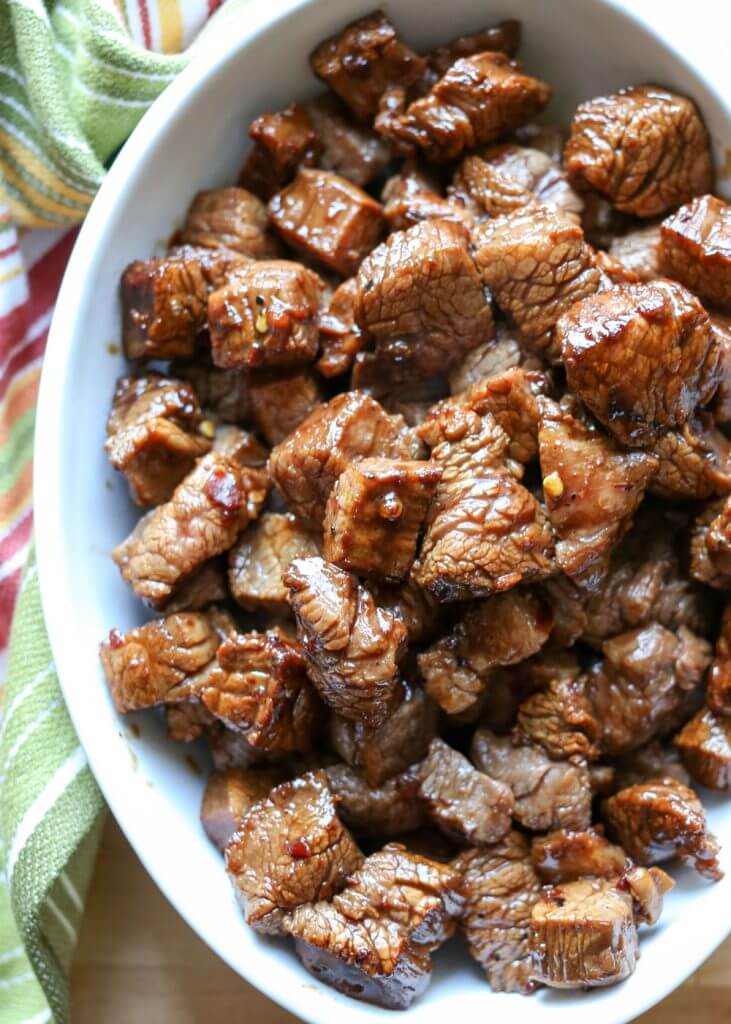
Asian Steak Bites – Barefeet in the Kitchen
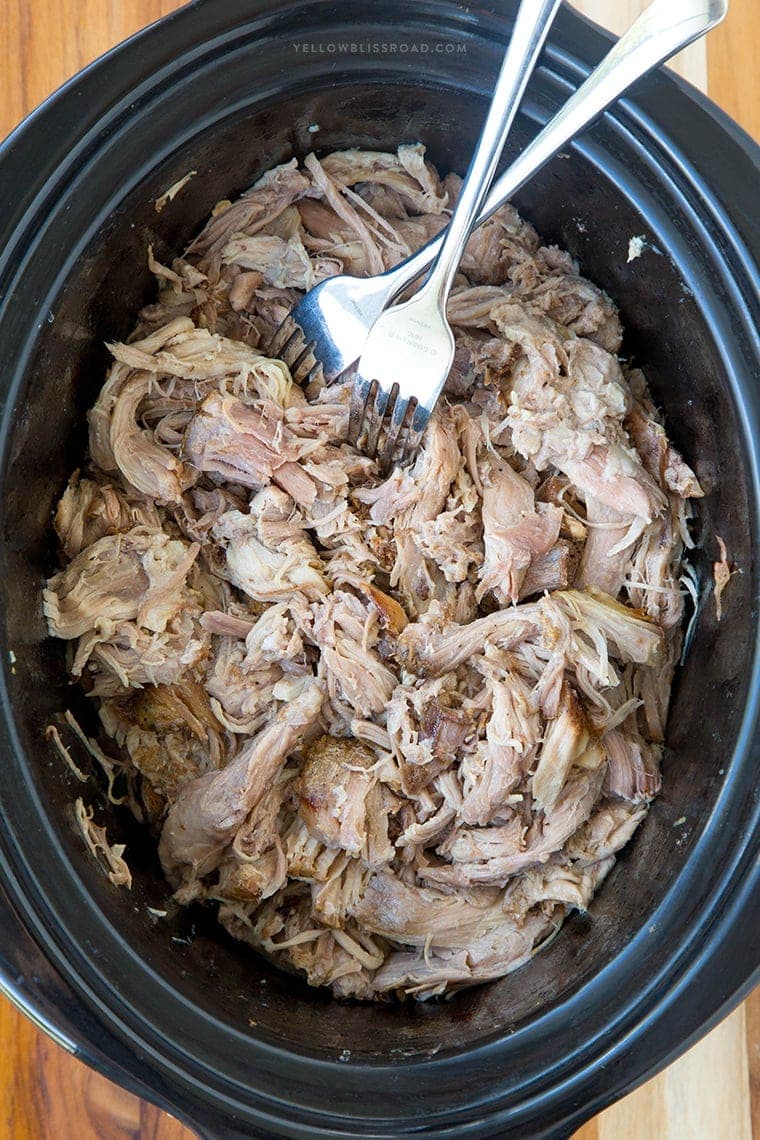
 Slow Cooker Kalua Pork – Yellow Bliss Road

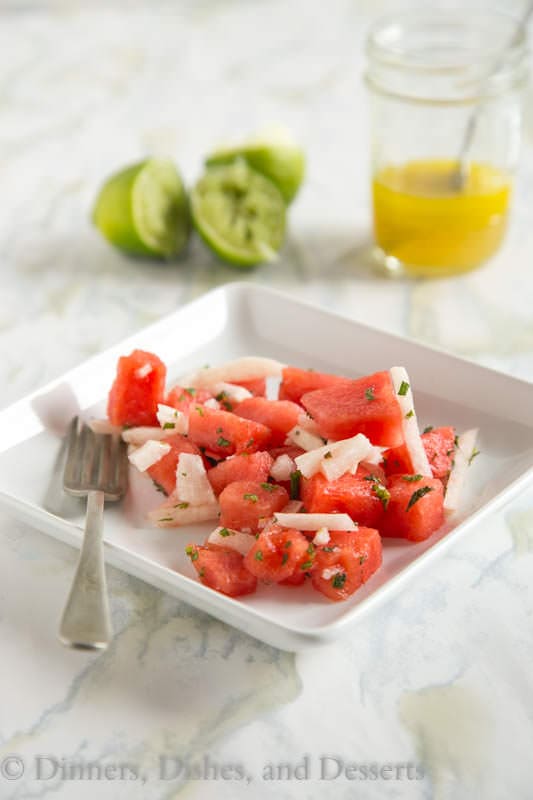
Jicama & Watermelon Salad – Dinners, Dishes, and Desserts
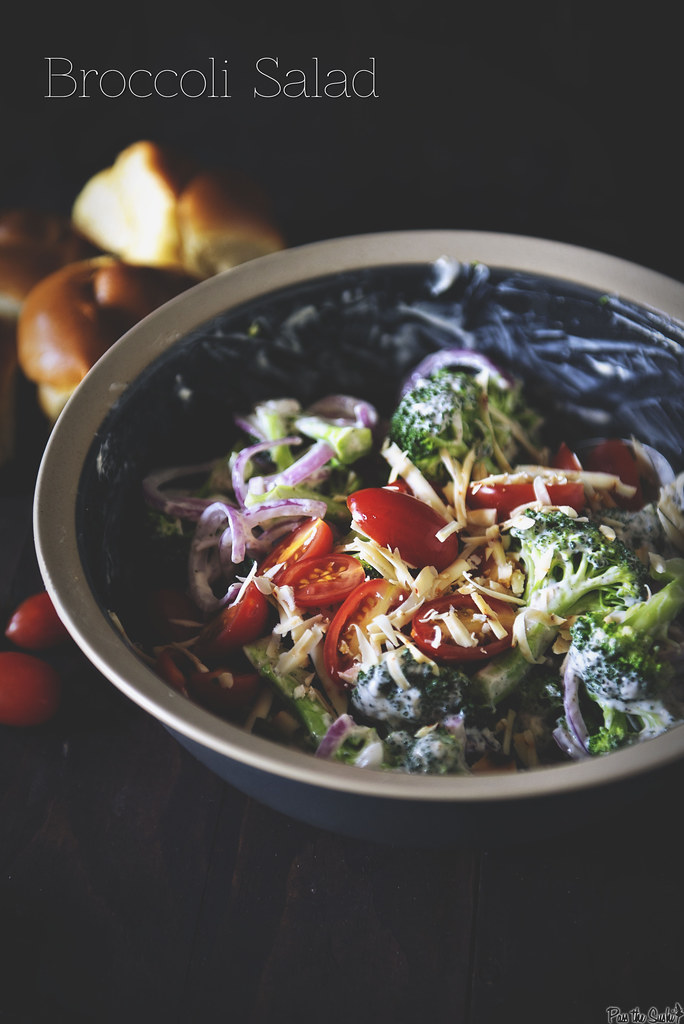
Broccoli Salad – Pass the Sushi

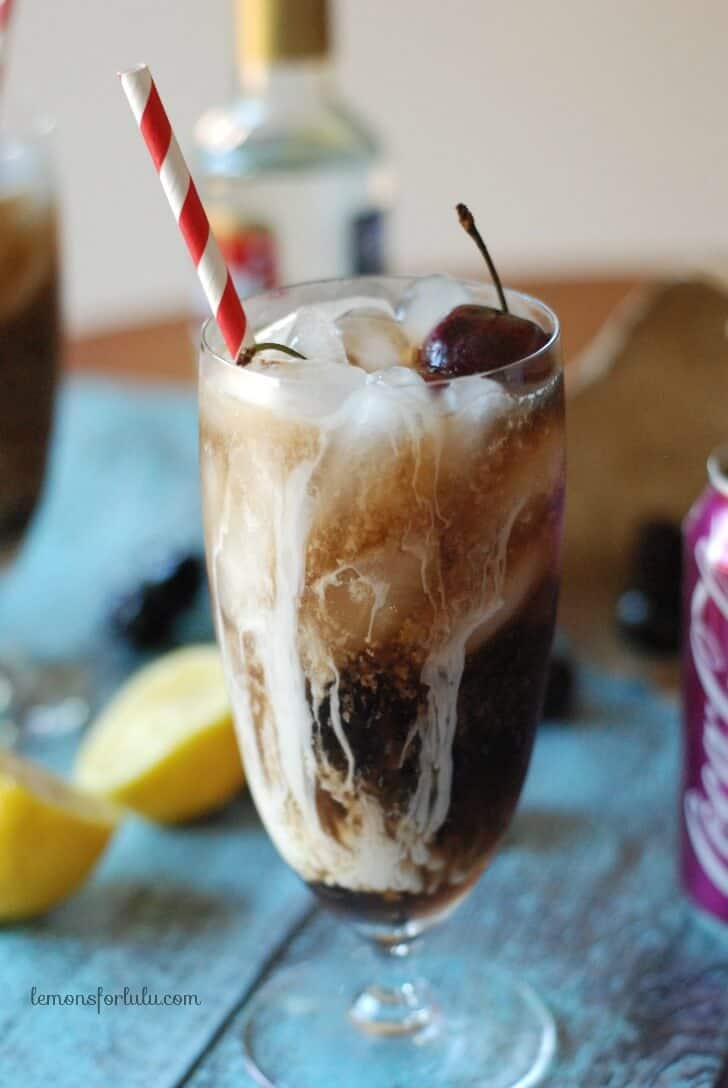
Dirty Cherry Coke – Lemons for Lulu

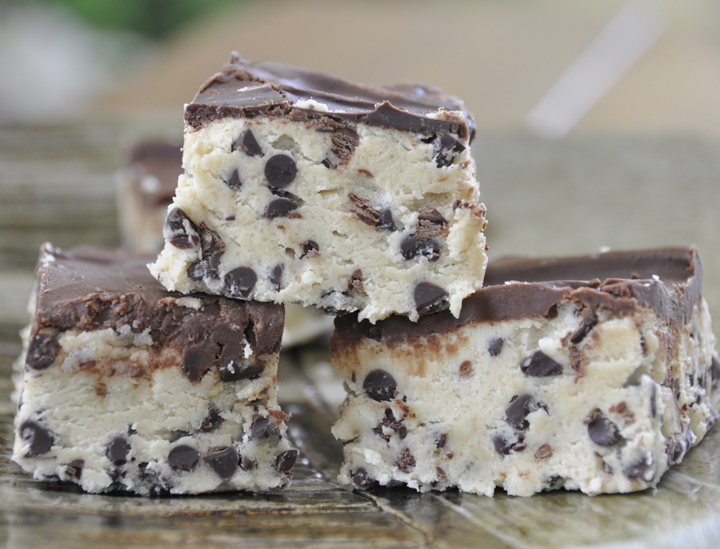
No Bake Chocolate Chip Cookie Dough Bars – Wishes & Dishes
This week’s meal plan was brought you to by:
Dinners, Dishes, and Desserts| Barefeet in the Kitchen | Foodie with Family | Wishes and Dishes | Pass the Sushi | Lemons for Lulu | Sweet C’s Designs | The Cookie Rookie | Yellow Bliss Road | Diethood
Check out all the Meal Plans we have made for even more ideas!
Pin this to your meal planning board for easy access all week long!
$500 Summer Cash Giveaway Hooray for summer! And it is time to celebrate with a $500 PayPal Cash Giveaway. So whether you are going on vacation, just hanging out at home, by the pool or dates nights eating ice cream. 
I got together with some of my friends and put together this awesome giveaway to add some sunshine to your already summer filled summer.
And if you are looking for some fantastic summer meals to make dinner or desserts more delicious be sure to check out some of these delicious recipes, all from the bloggers that brought you this giveaway.
Have a fantastic week friends and good luck, hoping one of my readers is the lucky winner!
XOXO San
Waffle Cone Sundae Ice Cream Cake
 Sparkling Berry Basil Lemonade
  Beer Cheese Dip & Homemade Pretzel Bites
  Mini Cheery Pies
Birthday Cake Ice Cream
 Hawaiian Macaroni Salad
  No-Bake Berry Pretzel Dessert
 Cheeseburger Salad
  Boston Pie Ice Cream Cake
  a Rafflecopter giveaway
This giveaway is brought to you by: A Dash of Sanity, Sweet C’s Designs, 365 Days of Baking & More, The Recipe Critic, Real Housemoms, Love Bakes Good Cakes, Diethood, Barefeet In The Kitchen, Foodie with Family, Dinner, Dishes & Desserts.


Reader's Thoughts...
Shilpa Malhotra says
Such a great idea. Love the flavors in these! My boys would devour them quickly.
Roshani Khanna says
Such a great idea Rebecca. This sounds so zesty and delicious! I cannot wait to try it out!
Maurina Brown says
Hi Rebecca! I just wanted to let you know that I made your bacon cheeseburger pasta recipe last night for dinner. It was a real hit 28th my family! What a fun recipe!
I was a bit skeptical reading the ingredients at first. I thought Dijon mustard? Worchestershire sauce? But I followed it exactly and it was wonderful! Thank you very much! I look forward to trying out some more of the recipes you have shared.
Maurina Brown North Richland Hills, Texas
Rebecca says
Thanks, Maurina! I’m so glad you and your family enjoyed it!